How to Prevent Ice Dams and Dangerous Ice Buildup on Your Home
Learn how to prevent ice dams and dangerous ice buildup on your Okanagan home. Expert tips on de-icing products, liability risks, and professional solutions.
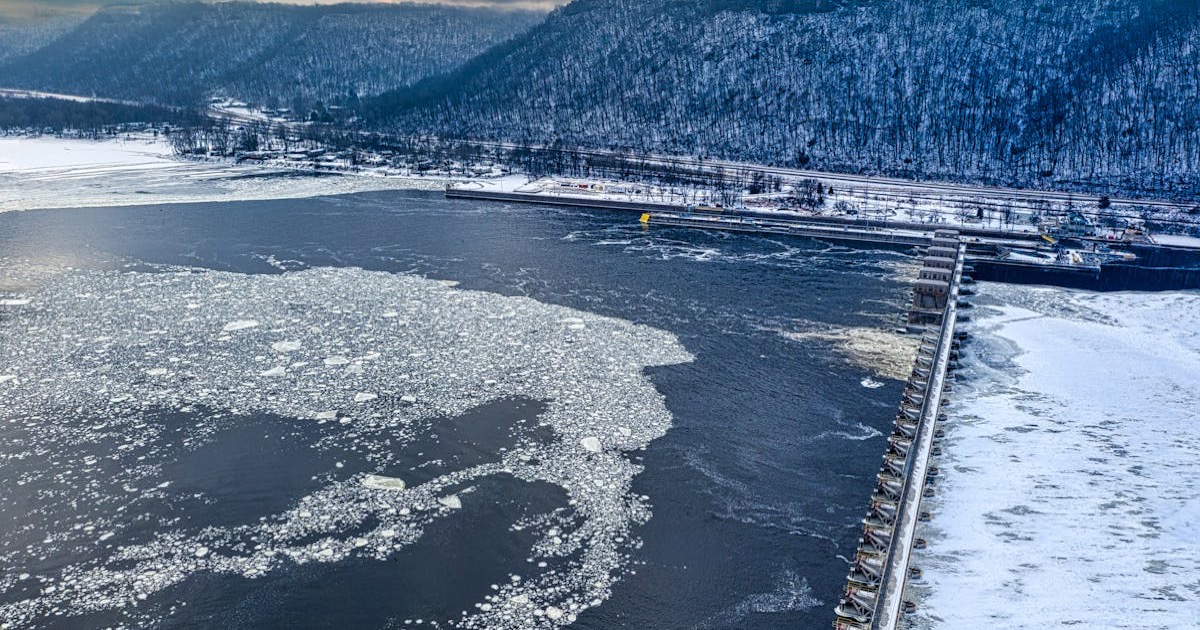
The Hidden Winter Threat to Okanagan Homes
When Okanagan homeowners think about winter hazards, snow-covered driveways usually come to mind first. But the more insidious threat is ice - specifically, ice dams on your roof and dangerous ice buildup on your walkways, driveways, and steps.
Ice dams cause millions of dollars in residential property damage across British Columbia every winter. They warp roofing materials, destroy gutters, drive water into wall cavities, and create conditions for mold growth that can persist long after the ice has melted. On the ground level, ice buildup on walkways and driveways creates slip-and-fall hazards that expose homeowners to serious liability.
The good news is that ice dams and dangerous ice buildup are largely preventable. Understanding why they form and taking proactive steps before and during winter can save you thousands in repair costs and protect the people who visit your property.
What Are Ice Dams and How Do They Form
An ice dam is a ridge of ice that forms along the edge of your roof, typically at the eaves or in roof valleys. Understanding the science behind ice dam formation is the first step toward preventing them.
The Ice Dam Cycle
Ice dams form through a predictable cycle driven by temperature differentials on your roof:
Step 1: Heat loss from your home. Warm air from your living spaces rises into the attic. If your attic is poorly insulated or poorly ventilated, this heat warms the roof deck from below.
Step 2: Snow melts on the upper roof. The warmed roof deck melts the bottom layer of snow sitting on the upper portions of your roof. This meltwater flows downward beneath the remaining snow layer.
Step 3: Water reaches the cold eaves. Your roof's eaves extend beyond the heated portion of your home. They stay cold because there is no warm attic space beneath them. When the meltwater reaches the eaves, it refreezes.
Step 4: The dam builds. As more meltwater flows down and refreezes at the eaves, a ridge of ice builds up. This dam traps additional meltwater behind it, creating a pool of water sitting on your roof.
Step 5: Water infiltration. The pooled water backs up under your shingles and finds its way through the roof deck, into your attic, and eventually into your walls and ceilings. This is where the real damage happens.
Why the Okanagan Is Particularly Susceptible
The Okanagan's winter climate creates ideal conditions for ice dam formation:
-
Frequent freeze-thaw cycles. Unlike colder regions where temperatures stay consistently below freezing, the Okanagan regularly swings between daytime highs above zero and nighttime lows well below freezing. This accelerates the melt-refreeze cycle that drives ice dam formation.
-
Wet, heavy snow. Okanagan snow tends to be wetter and denser than interior BC powder. Heavier snow insulates the roof surface more effectively, trapping heat from below and accelerating the melting process.
-
Sunny winter days. Even in January, the Okanagan gets enough sun to warm south-facing roof surfaces, adding solar-driven melting to the heat-loss melting that causes ice dams.
The Damage Ice Dams Can Cause
Ice dams are not just a cosmetic issue. Left unaddressed, they can cause extensive and expensive damage to multiple systems in your home.
Roof and Structural Damage
Water backed up behind an ice dam seeps under shingles and saturates the roof deck. Over time, this causes:
- Rotting roof sheathing - The plywood or OSB beneath your shingles absorbs water and begins to decay. Replacing roof sheathing typically costs $3,000 to $8,000, not including new shingles.
- Damaged or detached shingles - Ice expanding under shingles lifts, cracks, and displaces them, creating entry points for water even after the ice melts.
- Fascia and soffit damage - The weight of ice dams pulls on fascia boards and crushes soffit panels, compromising your roof's edge system.
Gutter Destruction
Ice dams frequently destroy gutters and downspouts:
- Gutters pulled away from the house - The weight of ice (which can exceed several hundred kilograms per linear metre) tears gutter brackets out of the fascia board.
- Crushed or deformed gutters - Expanding ice inside gutters bends, splits, and crushes the gutter channel.
- Broken downspouts - Ice forming inside downspouts expands and cracks the pipes, rendering them useless come spring.
Gutter replacement for a typical Okanagan home runs $1,500 to $4,000 depending on materials and linear footage.
Interior Water Damage
The most costly damage from ice dams is often the water that enters your home:
- Ceiling stains and collapse - Water pooling above ceilings causes staining, sagging, and eventually material failure.
- Wall damage - Water running down inside wall cavities ruins drywall, insulation, and paint.
- Mold and mildew - Moisture trapped in wall and ceiling cavities creates ideal conditions for mold growth. Mold remediation costs $2,000 to $10,000 depending on extent.
- Electrical hazards - Water contacting electrical wiring, outlets, or junction boxes creates fire and shock risks.
Snow Removal & Salting
Starting at $60/visit - included in your plan
How to Prevent Ice Dams
Ice dam prevention works on two levels: long-term solutions that address the root causes, and short-term measures that manage symptoms during the winter season.
Long-Term Prevention: Address the Root Cause
Since ice dams are fundamentally caused by heat escaping from your home and warming the roof, the most effective prevention targets heat loss.
Upgrade Attic Insulation
Your attic insulation is the primary barrier between your heated living space and the cold roof deck. Insufficient insulation allows too much heat to reach the roof.
Current BC Building Code recommends R-50 attic insulation for new construction in the Okanagan's climate zone. Many older homes have R-20 to R-32, which is significantly below current standards.
Upgrading attic insulation costs $1,500 to $4,000 for a typical Okanagan home, depending on the existing insulation level and the type of insulation used (blown cellulose, fiberglass batts, or spray foam). This investment pays for itself in reduced heating costs within 3 to 5 years and virtually eliminates the heat-loss component of ice dam formation.
Improve Attic Ventilation
Proper attic ventilation keeps the underside of your roof deck cold, even when heat does escape from your living space. A well-ventilated attic maintains a temperature close to the outside air, preventing the temperature differential that causes snow to melt unevenly.
Effective attic ventilation requires:
- Intake vents at the soffits (the underside of the eaves)
- Exhaust vents at or near the ridge of the roof
- Clear airflow path from soffit to ridge, unobstructed by insulation or stored items
The general guideline is 1 square foot of net free vent area for every 150 square feet of attic floor space, split equally between intake and exhaust.
Seal Air Leaks
Even with good insulation, air leaks from your living space into the attic can deliver significant heat to the roof deck. Common leak points include:
- Recessed light fixtures (pot lights) that penetrate the attic floor
- Plumbing and electrical penetrations
- Attic hatches and pull-down stairs
- Bathroom exhaust fans that vent into the attic instead of outside
- Gaps around chimneys and flue pipes
A professional energy audit can identify air leaks using a blower door test and thermal imaging. Sealing these leaks typically costs $300 to $1,000 and provides immediate benefits for both ice dam prevention and energy efficiency.
Short-Term Prevention: Managing Ice During Winter
While long-term solutions are the most effective, several strategies can help manage ice dam risk during the current winter season.
Roof Raking After Snowfall
A roof rake is a long-handled tool that lets you pull snow off the lower 3 to 4 feet of your roof from the ground. By removing snow from the eaves area, you eliminate the raw material that forms ice dams.
Best practices for roof raking:
- Rake within 24 hours of snowfall, before the melt-refreeze cycle begins
- Only clear the lower 3 to 4 feet of the roof - do not try to clear the entire surface
- Pull snow straight down off the edge, do not scrape against shingles
- Never climb onto an icy or snow-covered roof
Heat Cable Installation
Heat cables (also called heat tape or de-icing cables) are electric heating elements installed in a zigzag pattern along the eaves and in gutters. When activated, they melt channels through ice buildup, allowing water to drain off the roof instead of pooling behind ice dams.
Pros:
- Effective at preventing ice dam formation
- Can be installed on existing roofs
- Thermostat-controlled models activate automatically
Cons:
- Installation costs $500 to $1,500 for a typical home
- Ongoing electricity costs of $50 to $150 per winter
- Must be properly installed to avoid fire risk
- Does not address the root cause (heat loss)
Keep Gutters Clean
Clogged gutters accelerate ice dam formation by trapping water at the roof edge. Leaves, pine needles, and debris left in gutters from fall provide a dam that water freezes around, creating ice blockages even before significant snow accumulates.
Having your gutters professionally cleaned in late October or early November - after the last leaves have fallen but before the first snow - is one of the simplest and most cost-effective ice dam prevention measures.
Snow Removal & Salting
Starting at $60/visit - included in your plan
De-Icing Products: A Complete Comparison
Choosing the right de-icing product for your driveway, walkways, and steps is more nuanced than grabbing the cheapest bag at the hardware store. Different products work at different temperatures, have different environmental impacts, and interact differently with concrete, asphalt, and vegetation.
Rock Salt (Sodium Chloride)
Effective temperature range: Down to -12 C Cost: $8 to $15 per 20 kg bag Best for: Asphalt driveways, budget-conscious homeowners
Rock salt is the most affordable and widely available de-icing product. It works well in the Okanagan's relatively moderate winter temperatures but becomes ineffective during cold snaps below -12 C.
Drawbacks: Rock salt is harsh on concrete surfaces, accelerating spalling and surface deterioration. It damages vegetation and grass along driveway edges and is toxic to pets in large quantities. It also corrodes metal, which can affect your car's undercarriage and any metal railings or fixtures near treated surfaces.
Calcium Chloride
Effective temperature range: Down to -30 C Cost: $20 to $35 per 20 kg bag Best for: Extreme cold, fast-acting de-icing
Calcium chloride is the most effective de-icing chemical available for residential use. It works at much lower temperatures than rock salt and generates heat as it dissolves, which accelerates ice melting. It works faster than any other common de-icing product.
Drawbacks: More expensive than rock salt. Can leave a slippery residue on smooth surfaces. May damage some types of concrete if over-applied.
Magnesium Chloride
Effective temperature range: Down to -15 C Cost: $15 to $25 per 20 kg bag Best for: Concrete driveways, pet owners
Magnesium chloride is considered the most concrete-friendly chloride-based de-icer. It is also less toxic to pets and vegetation than rock salt or calcium chloride.
Drawbacks: Less effective than calcium chloride at very low temperatures. Can attract moisture and create wet surfaces even after ice has melted.
Calcium Magnesium Acetate (CMA)
Effective temperature range: Down to -7 C Cost: $30 to $50 per 20 kg bag Best for: New concrete, environmentally sensitive areas, near gardens
CMA is a biodegradable, non-corrosive de-icing product. It will not damage concrete, metal, or vegetation and is safe around pets and children. It is the de-icer of choice for new concrete driveways (less than 2 years old) that are most vulnerable to chemical damage.
Drawbacks: Significantly more expensive. Limited effective temperature range. Works more slowly than chloride-based products.
Sand and Gravel
Effective temperature range: All temperatures (provides traction, not melting) Cost: $5 to $10 per 20 kg bag Best for: Traction on packed ice, gravel driveways
Sand and gravel do not melt ice. Instead, they provide traction on icy surfaces. They are completely safe for concrete, vegetation, and pets.
Drawbacks: Do not melt ice or snow. Create a messy residue that needs cleanup in spring. Can clog storm drains if overused.
Application Best Practices
Regardless of which product you choose, proper application matters:
- Apply before the storm when possible. A light pre-treatment prevents ice from bonding to the surface, making post-storm removal much easier.
- Use the minimum effective amount. More is not better. Over-application wastes product, increases environmental impact, and can damage surfaces.
- Spread evenly. Concentrate product on high-traffic areas - walkways, steps, the path from the car to the door.
- Reapply after clearing snow. De-icing is most effective on thin ice layers, not on top of accumulated snow.
- Store products in a dry location. Moisture causes clumping and reduces effectiveness.
Snow Removal & Salting
Starting at $60/visit - included in your plan
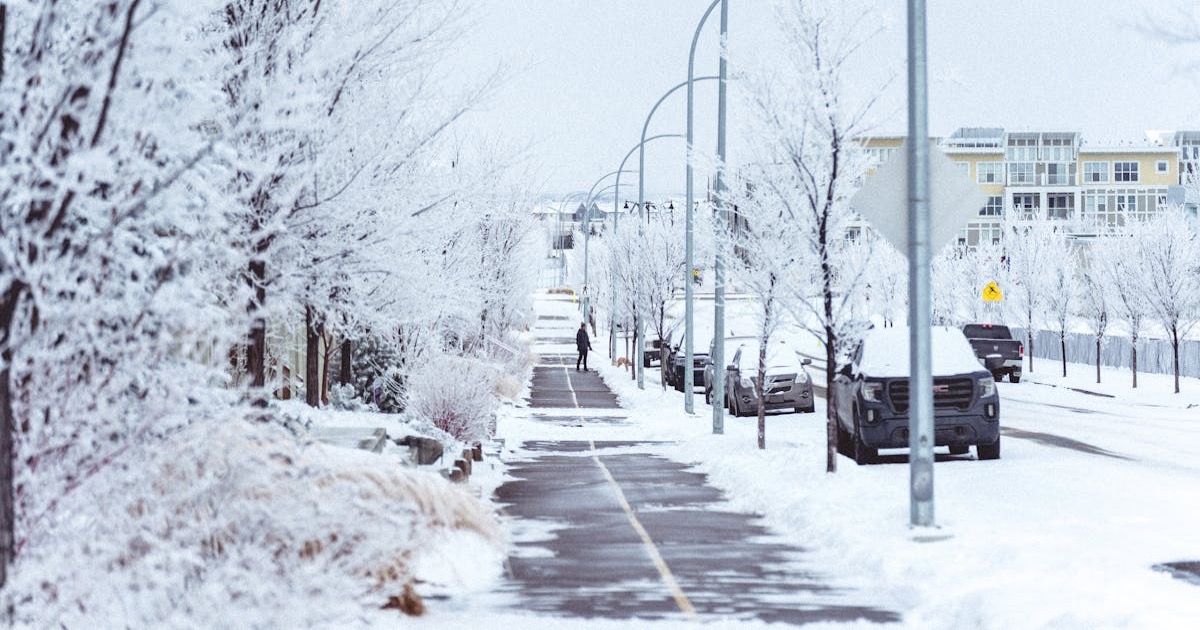
Liability Risks: Why Ice Removal Is Not Optional
In British Columbia, property owners have a legal obligation to maintain reasonably safe conditions on their property. Ice and snow buildup on walkways, driveways, and steps creates a liability exposure that many homeowners underestimate.
BC's Occupiers Liability Act
Under BC's Occupiers Liability Act, you owe a duty of care to anyone who enters your property - invited guests, delivery drivers, mail carriers, utility workers, and even uninvited visitors in some circumstances. This duty requires you to take reasonable steps to ensure your property is safe.
In the context of winter maintenance, "reasonable steps" means:
- Clearing snow and ice from walkways and steps within a reasonable time after snowfall
- Applying de-icing products to prevent dangerous ice buildup
- Addressing known hazards like chronically icy patches or areas where meltwater refreezes
- Warning visitors of hazards you have not yet been able to address
What a Slip-and-Fall Claim Looks Like
If someone slips on ice on your property and is injured, the typical process is:
- Injury occurs. The injured person may seek medical treatment and document their injuries.
- Claim filed. The injured party or their lawyer contacts your homeowner's insurance company.
- Investigation. The insurer investigates the circumstances, including whether you took reasonable steps to maintain safe conditions.
- Settlement or litigation. Most claims settle, but serious injuries can lead to lawsuits with significant damages.
Average slip-and-fall settlements in BC range from $10,000 to $50,000 for moderate injuries (sprains, fractures). Serious injuries involving head trauma, spinal damage, or permanent disability can result in claims exceeding $200,000.
How Professional Snow Removal Protects You
Hiring a professional snow removal service creates a documented record of proactive winter maintenance:
- Service records show that your property was regularly cleared after snowfall events
- De-icing application demonstrates you took steps beyond basic snow removal
- Professional standards show you engaged a qualified provider rather than relying on haphazard self-maintenance
- Liability transfer - professional snow removal companies carry their own insurance, which can absorb some of the liability exposure
Building an Ice Prevention Plan for Your Home
Effective ice management combines long-term prevention with consistent winter maintenance. Here is a practical plan for Okanagan homeowners.
Before Winter (October - November)
- Clean gutters thoroughly after the last leaves fall. This is critical for ice dam prevention.
- Inspect attic insulation and add insulation if below R-40.
- Check attic ventilation - ensure soffit vents are clear and ridge vents are unobstructed.
- Seal air leaks from living space into attic.
- Stock de-icing products before the rush. Buy calcium chloride or magnesium chloride for walkways.
- Install snow stakes to mark driveway edges for snow removal operators.
- Arrange professional snow removal service before the season begins.
During Winter (December - March)
- Remove snow from walkways and steps within 4 to 6 hours of snowfall ending.
- Apply de-icing product after each clearing, focusing on steps and high-traffic walkways.
- Rake roof eaves after significant snowfalls if accessible from the ground.
- Monitor for ice dam signs - icicles forming at eaves, water stains on interior ceilings.
- Keep downspout outlets clear so meltwater can drain away from the foundation.
After Winter (April)
- Inspect roof for damaged or displaced shingles.
- Check gutters for ice damage - bends, detachment, crushed sections.
- Look for water damage on interior ceilings and walls, especially in rooms directly below the attic.
- Clean up de-icing residue from walkways and driveways.
- Plan improvements for the following winter based on any issues observed.
Take the Guesswork Out of Winter Ice Management
Ice dams and dangerous ice buildup are preventable problems. The homeowners who deal with expensive water damage, destroyed gutters, and liability claims are almost always those who did not have a plan in place before winter arrived.
Professional snow and ice removal, combined with basic prevention measures like proper attic insulation and clean gutters, eliminates the vast majority of winter ice risks for Okanagan homes. The cost of prevention is a fraction of the cost of repair.
Ready to simplify your home maintenance?
Get all your home services in one monthly plan. Vetted contractors, guaranteed scheduling, predictable pricing.
Frequently Asked Questions
Why Homeowners Choose My Home Plan
Predictable Pricing
One monthly payment covers everything. No surprise quotes or hidden fees.
Vetted Contractors
Every contractor is background-checked, insured, and reviewed.
Zero Hassle
We handle scheduling, quality control, and follow-ups. You relax.
Related Articles
The Ultimate Winter Home Maintenance Checklist for Okanagan Homeowners
A comprehensive 20-item winter home maintenance checklist built specifically for Okanagan homeowners. From pipe protection and heating system prep to snow removal planning and emergency readiness, this guide covers everything you need to winterize your home in Kelowna, West Kelowna, Vernon, Penticton, and beyond.
Gutter Cleaning: The Most Overlooked Home Maintenance Task That Could Cost You Thousands
Clogged gutters cause more damage to Canadian homes than most homeowners realize. From foundation cracks to ice dams, learn why gutter cleaning is the single most important maintenance task you're probably skipping - and what it's costing you.
The Real Cost of Not Removing Snow: Liability, Damage, and Safety Risks
Skipping snow removal seems like a way to save money until a delivery driver breaks their wrist on your icy walkway or spring reveals $8,000 in driveway damage. This post covers the legal, financial, and safety consequences of neglecting snow removal for Okanagan property owners.